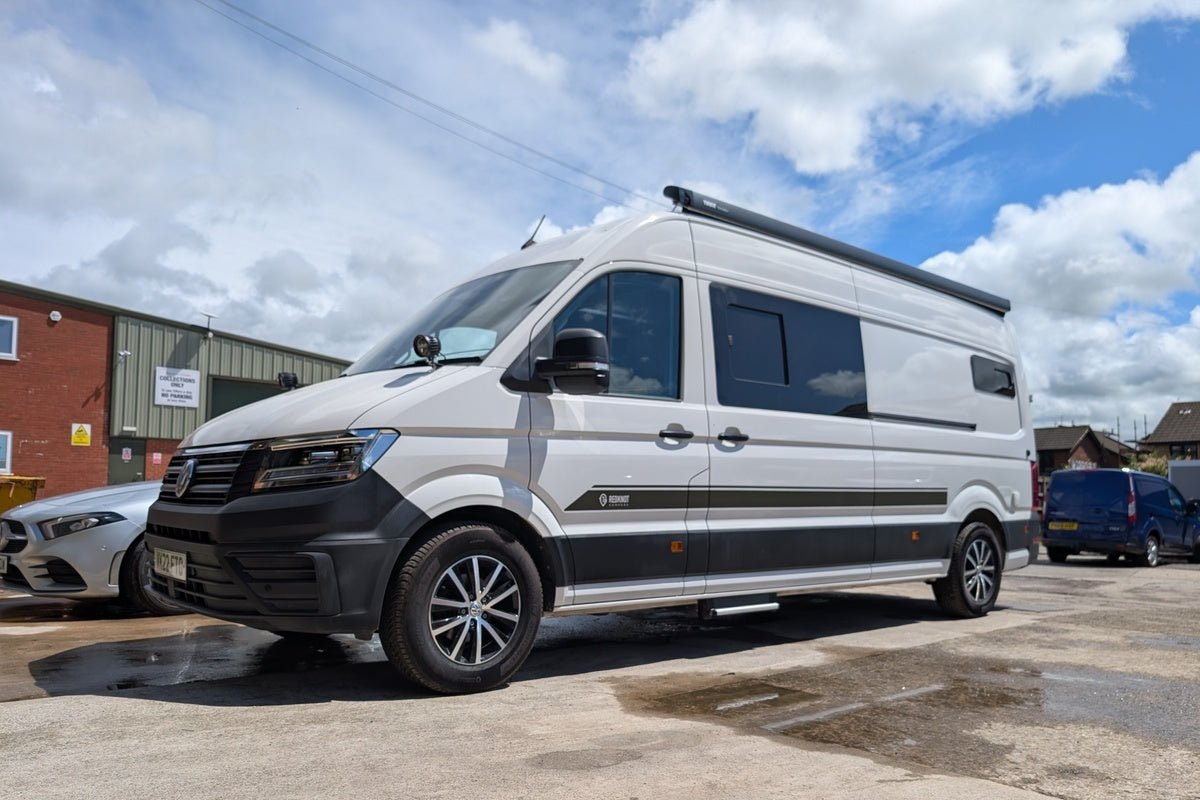
The ultimate VW Campervan cleaning guide
This guide isn't for the faint hearted. We’re not talking your usual drive through car wash here, or 10 minutes on a Sunday afternoon with the hose pipe. No. This guide is for the perfectionists. Those who want their VW campervan to shine like an automotive god and make all other VW campers look just a little bit grubby. A full campervan clean takes a bit of time, so find yourself half a day where you can turn the phone off, get your head down and polish like a maniac.
What you will need
It’s possible to go to town on cleaning products, but you will really only need a handful of quality car cleaning products to do a great job. We’ve posted a few optional extras at the end for the purists, but the only essentials are as follows:
For the exterior
- A pressure washer or hose pipe
- Snow foam
- A wheel cleaning brush
- 2 buckets
- Washing mitt or car cleaning sponge
- A chamois leather and microfibre towel
- A decent car polish and some cloths or a polish application/buffer tool
- Window cleaner & plastic trim restorer
For the interior
- Your choice of kitchen cleaning products
- Furniture Polish or Surface sprays
- Leather upholstery or fabric upholstery cleaner depending on upholstery type
- An interior detailing spray
- A hoover
- Some odour busting car air freshener
Preparing for the big clean
Empty the van. That’s the first step. Take out all the bedding, the dirty BBQ and everything that isn’t part of the furniture to give yourself a nice blank interior canvas to clean. Also ensure that all the windows, vents, doors etc are all closed up so you dont accidentally pressure wash the carpets! Finally, park it somewhere where you can get all the way round the van and preferably outside of direct sunlight, but don't worry too much if that’s a problem. You're now ready to give your VW camper the best clean of its life.
The pre-wash
The pre-wash is an essential step to ensure you have removed excess dirt, grit and grime before you make too much contact with the paintwork. Use a pressure washer or a hose pipe to give the van a good spray and get it soaked all over. Next, use a snow foam which will blanket the van in a dense foam that clings to paintwork lifting dirt and contaminants from the surface. Snow foams can be purchased to mix in your pressure washer, if it supports it, or as hosepipe attachments if not. Leave the snow foam on the vehicle for a couple of minutes to give it a chance to work its magic and then rinse the car off again with your hose-pipe or pressure washer.
Now, for some, the camper may now look clean enough, but not you.. oh no, you're better than that! That was just the warm up.
Clean those wheels
Wheels are important. They are often a focal point of the campervan, and they also tend to attract the most dirt due to the brake dust and road grime they pick up on tour. As a result, the wheels require a dedicated cleaning product that’s fit for the task. We use Auto Finesse Imperial Wheel Cleaner but any car wheel cleaner will do. Spray your rims liberally, and try and avoid the brake discs if you can (but don't obsess about it). Again, leave this for a couple of minutes to do its thing. Use a wheel brush and work the product into the wheels, paying particular attention to the hard to reach places. Once happy give it a rinse. If you find you've missed a few bits once rinsed, just repeat the process and focus on the problem areas. A tar remover such as Auto Finesse Bug & Grime Remover may be required if you have particularly stubborn spots.
At this stage, make a brew, find a suitable wall to lean on, take a breather and admire your work. The real workout is up next.
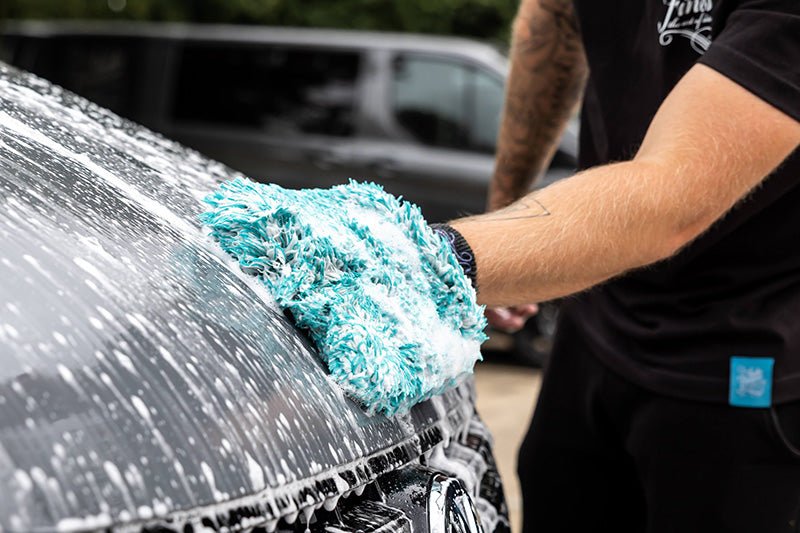
The full wash
Fetch the buckets! The full wash is where we really start to get that paintwork shining and it's going to take a little bit of effort (sorry about that). You’ll need two buckets for this. any buckets will do but make sure they are clean and dont have any debirs in that might scratch the paintwork. Fill one bucket with a mix of car shampoo and warm water as per the instructions. We use Auto Finesse Lather Shampoo. Fill the second bucket with warm clean water. We’re going to use this for rinsing.
For the application we like to use a cleaning mitt, but a sponge is just fine too. Dip your mitt into the shampoo bucket and then apply to the camper, and work it into the paintwork using the mitt. Work one section at a time to avoid the shampoo drying before you have time to rinse it. Once you have thoroughly cleaned a section, wash your mitt in the rinsing bucket and then wipe the section down until all the car shampoo has been removed. Repeat this process over the entire van. You might need to empty and refill your rinsing bucket a few times if the water starts to get a bit grubby.
Take your time on this bit. Try and get the van as clean as you can and when you're done give the van a full rinse with the hose pipe or pressure washer.
Drying
Whatever you do, do not let the van dry naturally. This will result in water spots forming on the paintwork, and whilst most people won’t notice, you will, and you’ll never forgive yourself! Use a chamois leather to get rid of excess water and then a microfibre cloth to get your camper super dry.
Detailing and enhancement
You should now have a really clean campervan and be the envy of all your friends. But what we really want is for it to sparkle and for that we need to add a little bit of polish. Our polish of choice is the Auto Finesse Finale quick Detailer and it can save a lot of time to use a polisher and buffer tool if you have one. But if you don't have one, don’t worry , just grab some polish and a cloth and do it the old-fashioned way. Work through a panel at a time and use a clean soft cloth to really work the polish into the paintwork. Once the polish has been suitably worked in, use a separate clean soft cloth to buff the panel until it sparkles. Wheels can be enhanced in a similar way to bodywork if they have a painted finish.
Trim & Glass
Finally, we want to spruce up those plastic trim parts and get the windows looking good. Washing your campervan can leave windows looking streaky, which is why we leave them till last. Use a specific window cleaning formula such as Auto Finesse Crystal Glass Cleaner to get them looking clear and shiny. If your windscreen is covered in caked-on bugs, then a bug remover is a decent option, breaking down even the toughest baked-on insect graveyards. Before you start, make sure the windows are really dry using a microfibre towel, then spray each window with the window cleaner and give it a good wipe with a clean dry cloth until it sparkles. Be careful not to touch the window with your fingers as this will leave finger prints and drive you to madness.
For plastic surfaces, applying a plastic trim restoration product such as Auto Finesse Revive Trim Dressing onto your clean plastic trims will restore colour and help protect them from environmental damage. The exterior of your pride and joy is now complete and ready for your next adventure
The Interior
The interior is of equal importance but due to the varied internal finishes on display in a converted VW camper, this can be a bit harder to tackle in terms of a uniform approach and product selection. But these are our top tips for getting your interior all ready for the next outing.
- Do the dirty jobs first: Clean the fridge, grill and cooking surfaces with general kitchen cleaning products. These jobs are likely to make the most mess, so get them out the way early so as not to undo your good work elsewhere.
- Next tackle the surfaces: Again generic furniture polishes and surface sprays are fine for most finishes. Don't forget to do inside cupboards and storage boxes as these often get the most abuse.
- The upholstery: This is best tackled with dedicated car cleaning products. It will depend on what upholstery you have as to which product works best. For leather, we recommend using a dedicated leather cleaner and for fabric we recommend a general interior cleaner like Auto Finesse Total Interior Cleaner.
- The dash and cockpit: As a campervan owner, this is where you will spend the majority of your time, so make it shine. Use an interior detail spray all over the dash, and centre console controls to bring it back to life.
- Windows (again): Repeat the exterior window cleaning process with a glass cleaner until the inside looks as clear as the outside.
- Get the hoover out: Now hoover out the whole campervan. Start high and work your way down and make sure to use the various attachments to get into the corners and cracks where dust tends to accumulate.
- Make it smell good: Finally, use a leave in air freshener or give it a spray with an odour buster and then close the door! For super fresh result we like the Aroma Billberry Air Freshener.
You have now officially earned a beer or any other beverage of choice. Your camper is glistening inside and out and it smells good too. The only thing left to do now is work out where to take it next.