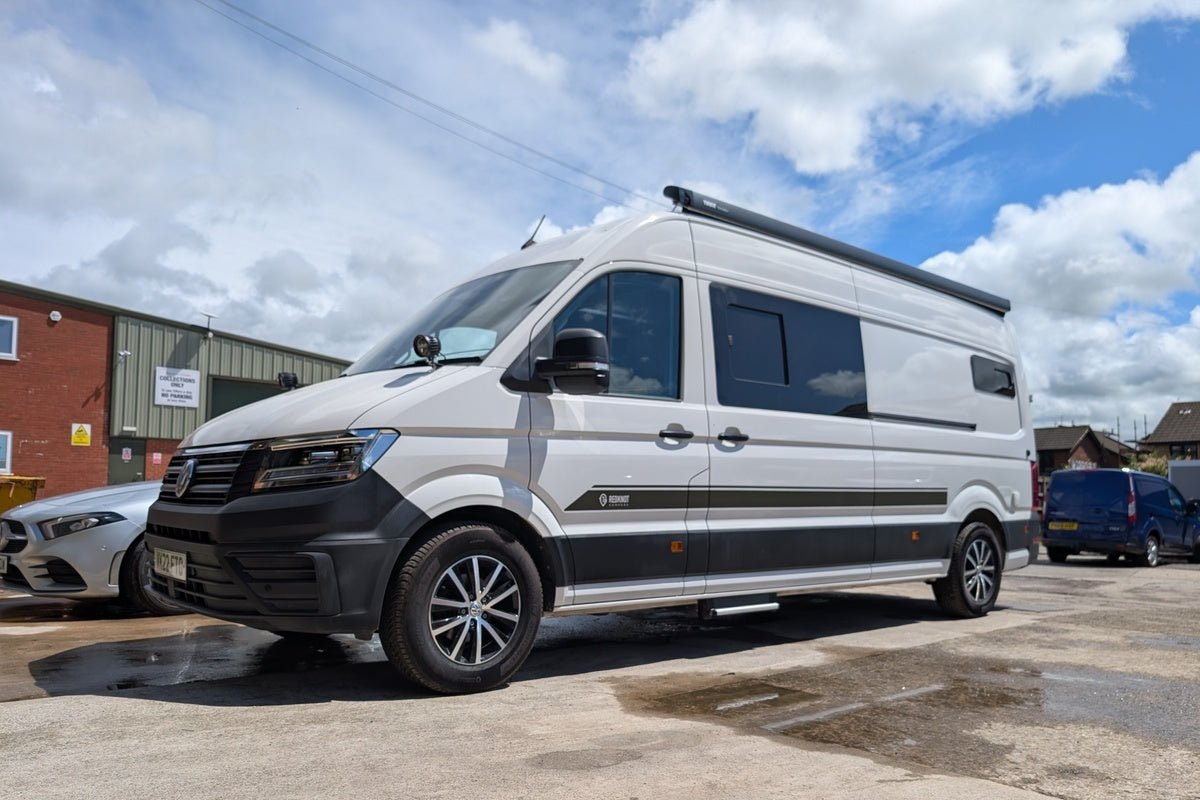
Preparing your van for a Pop-Top & Windows
We fit a lot of Pop-Tops and windows and often get asked by DIY converters what jobs they can do before the Pop-Top and windows go in. So here is our rough guide as to what you can do before you get your Pop-top roof and/or windows installed by Redknot campers.
A campervan self converter can perform several tasks before the installation of a pop-top roof and windows to ensure the vehicle is prepared for these modifications and in the best possible state for the rest of the conversion process. However, some of the tasks should be done in a very specific way to ensure that the end result meets the best possible standard. A summary of some of these tasks and the considerations around them are listed below.
Planning and Designing
This involves conceptualising the layout and design of the campervan interior, considering factors such as the placement and type of furniture, appliances, storage units, and electrical systems you intend to use. It’s vital that this is decided before the Van comes to our workshop. Moving the location of a battery or fuse box for example has massive ramifications on the routing of wires and may not be able to be easily remedied if your plan changes after we’ve carried out our work. Think really carefully about what you want to do in the Van, where you want to go, and the places you want to see. How will you eat, sleep and travel? Most importantly, what will be your plan for managing resources like battery power or water? If you plan lots of off-grid time then bigger batteries, solar panels, water tanks all need to be considered. Use the time when you drop your van in, to walk us through your plans and we’ll provide any advice we can. Make sure you know exactly what utilities you want to use so you can cater for the cabling requirements. For example, are you having a solar panel? Where will the solar controller go? Solar panel cabling should be as short as possible to minimise voltage drop and reduce the efficiency of the energy you harvest. Provide for elements you don’t think you want right now, but just in case your view changes after a few trips away. Many people exclude things like a 240V site hook-up, underslung water tanks or a diesel heater, but if you change your mind, have you considered a way you could accommodate them without having to undo the beautiful work you’ve carried out?
Insulation
Insulating the interior of the campervan is crucial for maintaining comfortable temperatures inside the vehicle. This typically involves installing sound deadening followed by insulation material in the walls, floor, and ceiling to regulate heat and sound. You are free to insulate the Van before it comes to us for pop-top installation, but only with sound deadening and first level insulation mat and it is best to make sure that initial stage insulation is only carried out in the lower cavities of the Van (below the window line). But do not use any form of fleece or carpet as to install Pop-Top roofs and windows, we have to take pieces of metal out of the walls and roof and fleece and carpet can’t reasonably be protected from this work. Consider carefully how you will carpet line the Van, so any panels that you’ve removed, keep them safe and make sure the holes are accessible for putting the panels back on - i.e no foil tape or sheet insulation over the top. No carpet lining should be done anywhere in the Van.
Flooring Installation
By all means choose your suitable flooring material that aligns with the overall design and functionality of the campervan. This could include vinyl, laminate, or hardwood flooring, among others, but when the van comes to us, we request a bare metal floor, as to get a neat finish, carpeting before the floor is the preferred sequence.
Electrical Wiring
Planning and installing electrical wiring for lighting, appliances, and other electrical components is probably the biggest activity that can take place before you come to have your Pop-Top and windows installed. This mainly involves routing wires, identifying the location of the battery, fuse box, sockets and outlets as well as how you will connect the electrical system to a power source, such as a vehicle alternator charging (Battery to Battery), Solar controllers or shore power hookup. Ideally choose your battery, the size and shape can differ significantly so make sure you have a battery selected that fits into the space you’ve allocated. Make sure you know the fuse requirements of every piece of equipment to be installed so you size the cabling appropriately.
With routing, you don’t need to route wires internally to the van frame. Talk to us beforehand about the pop-top installation and where best to route wires. Wires routed alongside the existing looms running from front to back (usually most are along the passenger side) will be hidden by the framing of the pop-top. Trying to route cables through awkward tight spaces means they’ll be really hard to get at in the future if you have a problem, so if it's really tough to route in, it’s probably not the right route!
Don’t cut off any cable ends, just leave them in coils with sufficient wire for their final destination, including some extra for changes of mind or mistakes. You’ll have to pull this cable through panels and carpet, so make it easy for your future self.
Plumbing Preparation
If the campervan will include a sink, shower, or toilet, you can plan the route of the pipes, fittings, and tanks for freshwater, grey water, and possibly a toilet holding tank.
Feel free to drill holes and go mad underneath. Underslung tanks, diesel heaters etc. can all go in, install any vent holes for gas lockers, fridge vents etc, just tape them over for protection from the elements. Also make sure you immediately prime any bare material on new holes to prevent future rust problems.
Cabinetry and Storage Construction
Building or installing cabinetry, shelves, and storage units according to the planned layout to maximise space efficiency and functionality is fine to do. Profiling edges is possible, but bear in mind that the internal contours of the van will be different once carpeted and panelled than they are now, so don’t do too much just for the sake of progress. You’ll have to look at the final installation quality for years to come.
Plenty of test fitting and temporary mock-ups or templates is a good way at this early stage to ensure proper placement and functionality. But do not install any furniture before the Pop-Top and windows are installed as it will almost certainly be in the way and would be likely to get damaged.
Appliance Installation
We would definitely advise against getting this far ahead, be patient. Maybe test fitting appliances such as a Fridge or hob according to the design plan and ensuring you have a method to ensure they are properly secured and connected. But make sure it is just a test and remove them once you are happy they fit.
Ventilation
Planning for and installing ventilation systems such as fans or vents to promote airflow and reduce condensation inside the campervan is definitely something to do early in the process. Choose your windows carefully, where do you want an opening window and where to locate fixed windows? Again, it's very hard to reverse some of these choices, so please ask for advice if you are unsure.
Swivel seat base
A fairly straightforward job to do, but bear in mind it may not actually swivel at this point. A number of Van’s (T5’s and T6’s especially) have a welded on bulkhead flange which needs to be removed before the swivel will spin.
We recommend taking out the bulkhead mounting flanges at the lower half of the seat belt pillar and along the floor before the Van comes to us. There are a number of YouTube resources to guide you how to do it, we use spot weld drills in the first instance, grinding and hot works inside the van should be avoided unless absolutely necessary. Once again, prime any bare material afterwards to protect it. You can then prepare the groundwork for the seat base by routing the OEM wiring and modifying any bolt down points as required by the manufacturer of the Swivel Base. Also please note that if you want us to install your swivel base, in the interest of safety we will only install bases that come with a valid M1 or TUV crash testing certificate.
Safety Considerations:
Ensuring that safety features such as fire extinguishers, smoke detectors, and carbon monoxide detectors are all considered in the installation design plan as necessary to meet safety standards. But again, it is best to not install any of this equipment prior to having the pop-top and windows installed.
Summary
The Van should come to us not looking that much different from when you bought it as a panel van. You may have done a lot of planning, but it should come into our workshop as the base Van with bulkhead removed, first fix wiring installed, initial sound deadening and insulation carried out, some holes drilled through the floor and possibly some works carried out underneath. Please try and stick to this, it helps us do the quality of work for you that we strive to.
By completing the tasks outlined, and ensuring most importantly that you don’t do too much, we can ensure that the final result is something that you can be really proud of. Redknot are passionate about getting a Camper that enables you to have years of magical adventures, so if you’re unsure if what you are doing will cause a problem when your Van comes into our workshop, please just give us a call to make sure.
And we know it can be difficult to have this gleaming panel van on the drive and you feel like you can’t get to make any progress. That time will come, use this planning period as an opportunity to make sure you have considered every eventuality.
By keeping in line with this rough guide to the recommended work stages before installing the pop-top and windows, the self converter can lay a solid foundation for the rest of the conversion process and ensure that these final modifications integrate seamlessly with the overall design and functionality of the vehicle.
Hope this helps, enjoy the process!